You will need space around the FC
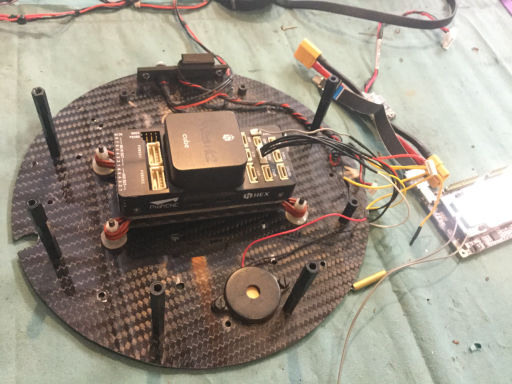
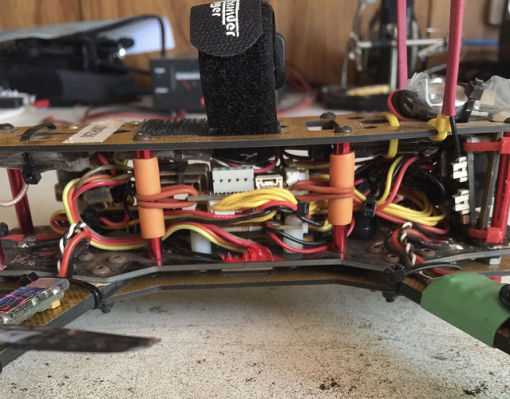
The main downside with this mounting method is the additional room required around the FC (Flight Controller).
As this is the standard mounting method I use, it is planned for in the build stages.
The total area is 10mm extra around the FC to allow for the suspension 'O' rings.
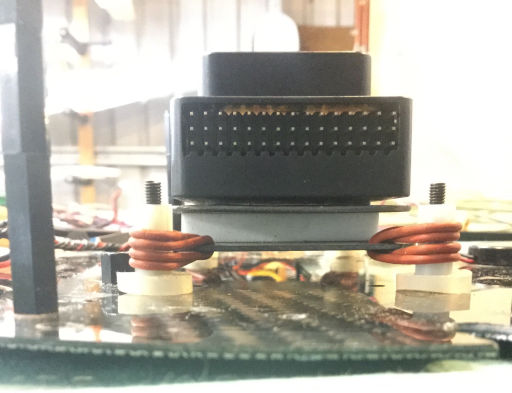
In practise I have found the only 'O' rings that work are the silicone variety. Normal butyl 'O' rings will break in tension.
The number of 'O' rings used is part of your vibration tuning.
Read on ->
The suspension 'Stack'
This is where I setup the vibration response of the suspended stack.
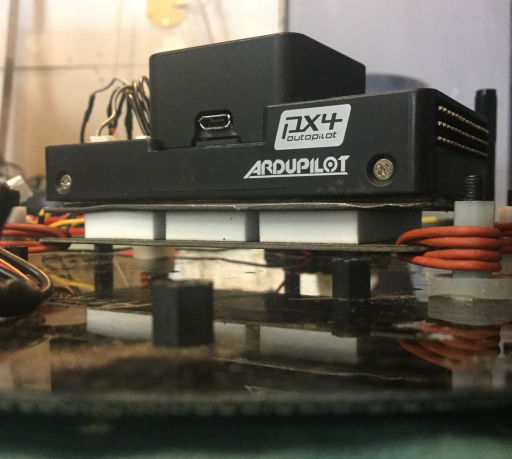
Base layer: This is not critical but I prefer to use carbon fibre for its strength and lightness, but many other mechanically similar materials can be used, they just have to hold onto the 'O' rings and support the stack.
1st layer: Usually the vibration dampening material supplied with the FC, or your favourite foam dampening.
In this example I had plenty of height to work with so I went for a higher thickness foam of medium softness. Don't go too soft though as it just has to dampen the initial vibrations that make it through the suspension mounts.
Lead Layer: This layer tunes the vibrational response of the FC to the input vibrations from the frame, suspension and first foam layer and is the prime reason this method works so well.
I use a 1mm thick sheet of lead as it's readily available and easy to work with. Thinner may be OK but the weight of the FC has to be taken into account as it is the resonant mass we are tuning here.
FC Adhesion layer: We all have our preferred double sided foam with my personal choice being Futaba Gyro Tape. It provides another vibration dampening layer while having a low profile.
I have used it with good effect in the 1st Layer as well but I have found it best to use 2 different foams with different vibrational responses.
FC: The size and mass of your 'Stack' is ultimately determined by the FC you are using.
In some Mini Quads just the 'O' ring suspension was sufficient with FC's like the Pixracer.
Read On ->
Tuning Your 'Stack'
As mentioned, the foam layers I have found to be non critical and initially used Sorbathane on the 1st layer, but when I ran out I used the mounting foam supplied with the FC with little change. I would recommend using different foams in 1st and FC layer, keeping in mind the vibration attenuation you are after.
The number of 'O' rings is determined by the weight of your stack. You want to isolate the FC but you do NOT want the FC 'floating' as this will adversely affect the response of the whole drone and make tuning difficult, especially if you are chasing a tight and responsive tune. For the Cube, as shown, I found 2 'O' rings per corner to be optimum.
Try and keep in mind that as the vibrations are transmitted through the 'O' rings first, then the 1st layer foam to the lead sheet, then the FC Adhesion layer to the FC, the frequencies are being attenuated differently.
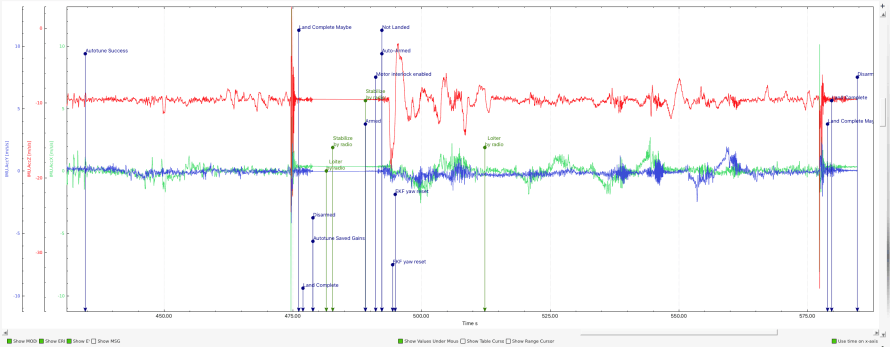
I would also recommend you get the stack attenuation sorted before initiating any software vibration compensations.
